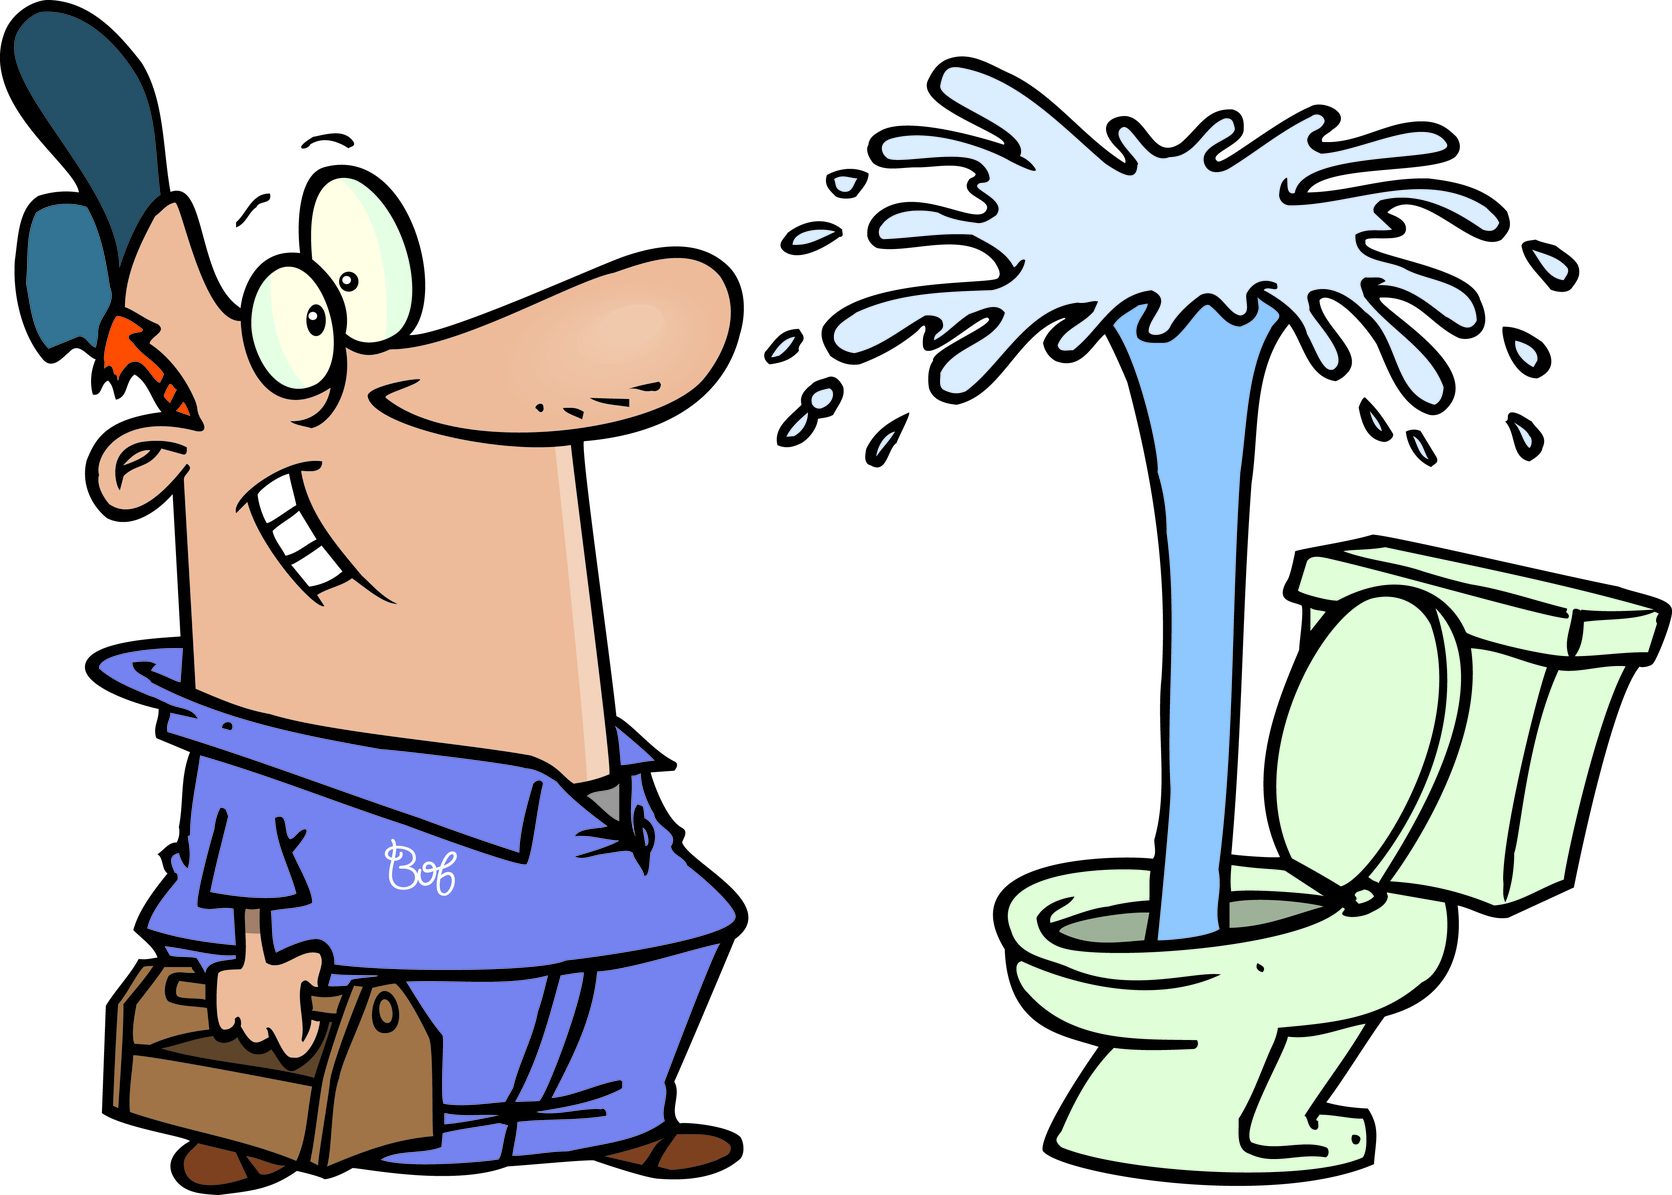
Stop Leaks Around The Toilet Base In 5 Simple Steps!

Without a doubt, finding liquid around the toilet's base especially when you have small children is one of your worst nightmares. While you might be relieved to discover the liquid is just water, it is highly advisable to determine the source of the leakage and repair it immediately. Otherwise, you will be likely to receive a hefty bill by the end of the month.
 More often than not, if you notice that the toilet is also rocking, then the leakage is usually caused by damaged or rusted bolts. It is important to note that it is usually best to replace all bolts, gaskets and washers even if only one of them is damaged to prevent future leakages. In addition, because lining the toilet base must be done with precision, it would be a good idea to ask some for assistance. Here are the steps you need to follow to replace damaged bolts.
Step 1: Acquire the necessary supplies
As a rule of thumb, you shouldn't dissemble the toilet unless you made sure you have all the supplies ready. Needless to say, this goes double for those of you who only have one bathroom in your home. In the event that you are missing something, head down to the nearest supplies stores and purchase the Johnny bolts, flange and any other tool you are missing for the repair job.
Step 2: Ensure that you have a washer ready
In case you didn't know, most toilet bolts packages come in sets that include the actual fasteners and a plastic washer. Because the washer could come in handy for keeping the bolts in place at the correct height, make sure you have this part in the set. While it might not seem so important at first, the truth is that the washer does save you a lot of time and effort.
Step 3: Remove the bolts and the toilet
If the bolts are somewhat intact, then you could easily remove them with a monkey wrench. However, if they are badly damaged or seem stuck, then apply some oil wrench to loosen them and make your job easier. Once you take out the bolts, removing the actual toilet becomes is quite easy and implies lifting the fixture away from the flow and placing it out of your way.
Step 4: Replace the bolts and flange
The new flange should be placed precisely on the spot of the old flange, while the bolts should be installed into the slots available on its opposite sides. The toilet bowl should go directly on top of the new flange and bolts slowly and making sure to align the holes at the toilet's base with the ones on the floor. Don't forget to tighten the bolts in order to secure the toilet in place.
Step 5: Install new rubber gaskets
In order to make a better sealant around the toilet's base, you should install new rubber gaskets into the new bolts. Reattach the water connection, turn on the water supply and flush to determine the success of your repair job.
About the Author
Started my career in the fastener world in 1969 at, Parker Kalon Corp. a NJ based screw manufacturer located in Clifton, NJ working in inventory control, scheduling secondary production and concluding there in purchasing. In 1971 I accepted a sales position at Star Stainless Screw Co., Totowa, NJ working in inside sales and later as an outside salesman, having a successful career at Star I had the desire with a friend to start our own fastener distribution company in 1980 named: Divspec, Kenilworth, NJ. This was a successful adventure but ended in 1985 with me starting Melfast in August 1985 and have stayed competitive and successful to date. Melfast serves the OEM market with approximately 400 accounts nationally.