How To Achieve Proper Alignment When Drilling A Screw Onto A Surface

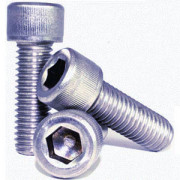
When you are installing wooden furniture in your home, one of the major concerns you will definitely have is how to make sure that the outcome is beautiful. An example of this is when you are fixing cabinets or installing new ones, and want to make sure that they will look appealing once done. One of the major determinants of this is how you use fasteners such as aluminum Phillips screws and alloy 20 carriage bolts for the job. There are a few tips that will always go a long way in making any DIY job look professionally done as far as fastener use is concerned. Some of these include:
The use of a self-centering bit
A common problem that many DIY enthusiasts find is that the screws don’t sit in the location that they are supposed to sit in exactly. One way to avoid this is by using a self-centering bit when you are drilling the hole into which the screw will be placed. This type of drill bit will create a depression at the center of the hole, and this will then make it easier to direct the screw into it. In addition to ensuring that the screw sits properly, this also reduces damage to the item you are fastening. It will also make it much easier for you to do the fastening as well.
Use the clutch
If you are going to use an electric drill to insert the screw, you may find that the power supplied to the screw can sometimes be too great. This is particularly so if you are using small screws or those that are made of a brittle metal such as brass. To avoid this, you might need to limit how much power is supplied to the screws. Most modern drills will have a clutch that will eliminate this effect.
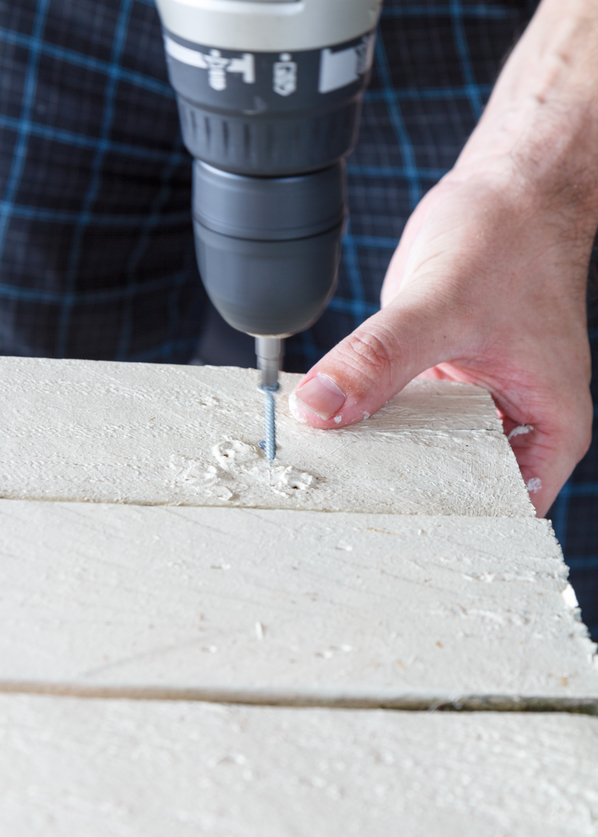
Push hard on the screw
One of the most effective techniques to guarantee proper seating of the screw is by pushing it hard into the surface you are screwing particularly during the first few turns. Whether you are using a drill or a regular screw driver, this motion ensures that the screw will not have too much play, so it will be driven into the surface at the angle you want and in the exact location you are interested in.
If you are going to use a drill to drive the screw into the surface, you should also consider starting off at a slow speed. This ensures that the accuracy of the process is improved. If it turns out that the screw is not properly aligned, you can easily change your technique to correct this.
Never use worn out bits
Using worn out bits to create pilot holes for the screws will only serve to make your work more difficult. Not only will you find it harder to insert the screws, but they are also more likely to not be properly aligned by the time you are done. This also complicates the process of removing them in the future.
About the Author
Started my career in the fastener world in 1969 at, Parker Kalon Corp. a NJ based screw manufacturer located in Clifton, NJ working in inventory control, scheduling secondary production and concluding there in purchasing. In 1971 I accepted a sales position at Star Stainless Screw Co., Totowa, NJ working in inside sales and later as an outside salesman, having a successful career at Star I had the desire with a friend to start our own fastener distribution company in 1980 named: Divspec, Kenilworth, NJ. This was a successful adventure but ended in 1985 with me starting Melfast in August 1985 and have stayed competitive and successful to date. Melfast serves the OEM market with approximately 400 accounts nationally.